Building a Reliable Turntable for a School Production, Part 2
Building a Reliable Turntable for a School Production, Part 2

Student planning and preparation
Turntables can feel intimidating in school theater. They’re mechanical, they involve moving parts, and when they fail, they fail very obviously.
For Book of Will, we built a turntable that has been working beautifully, not because it was flashy, but because it was purpose-built, rehearsed early, and understood by the students running it.
Here’s how we approached it.
Start With Story, Not Engineering
Before we talked about materials or mechanics, we answered one question:
Why does this turntable exist in the story?
Our design for Book of Will is set up alley style on our mainstage, with the audience sitting on the upstage and downstage edges of our deck. The script is very fluid, and dragging wagons or furniture out to shift to the multiple locations felt clunky. The turntable supports fluid transitions and helps shift locations without stopping momentum. It's also visually interesting, so allowed the audience to stay engaged during scene changes
And it's small. 14’ diameter. Just enough to create the spaces we needed. The size kept us from overbuilding. The turntable didn’t need speed tricks or continuous motion, it needed to be reliable and easy to control.
Design for Stability First
It was important to me that the students take the lead on this build. We had three weeks to plan while our music department was on stage. I gave our student team the design. Our priorities were simple; smooth rotation, minimal flex or bounce, and predictable stopping points that locked down.
We had a manageable diameter. We needed a strong, level base that didn’t rise too high, We didn’t want additional steps up, and we had to avoid drift.
Keep the Mechanism Simple
Complex systems break under student use and time pressure. The more fail points you have, the more likely you are to have a failure.
We devised a system that students could understand visually, could be adjusted while we built, and didn’t rely on specialty parts we couldn’t quickly come by.
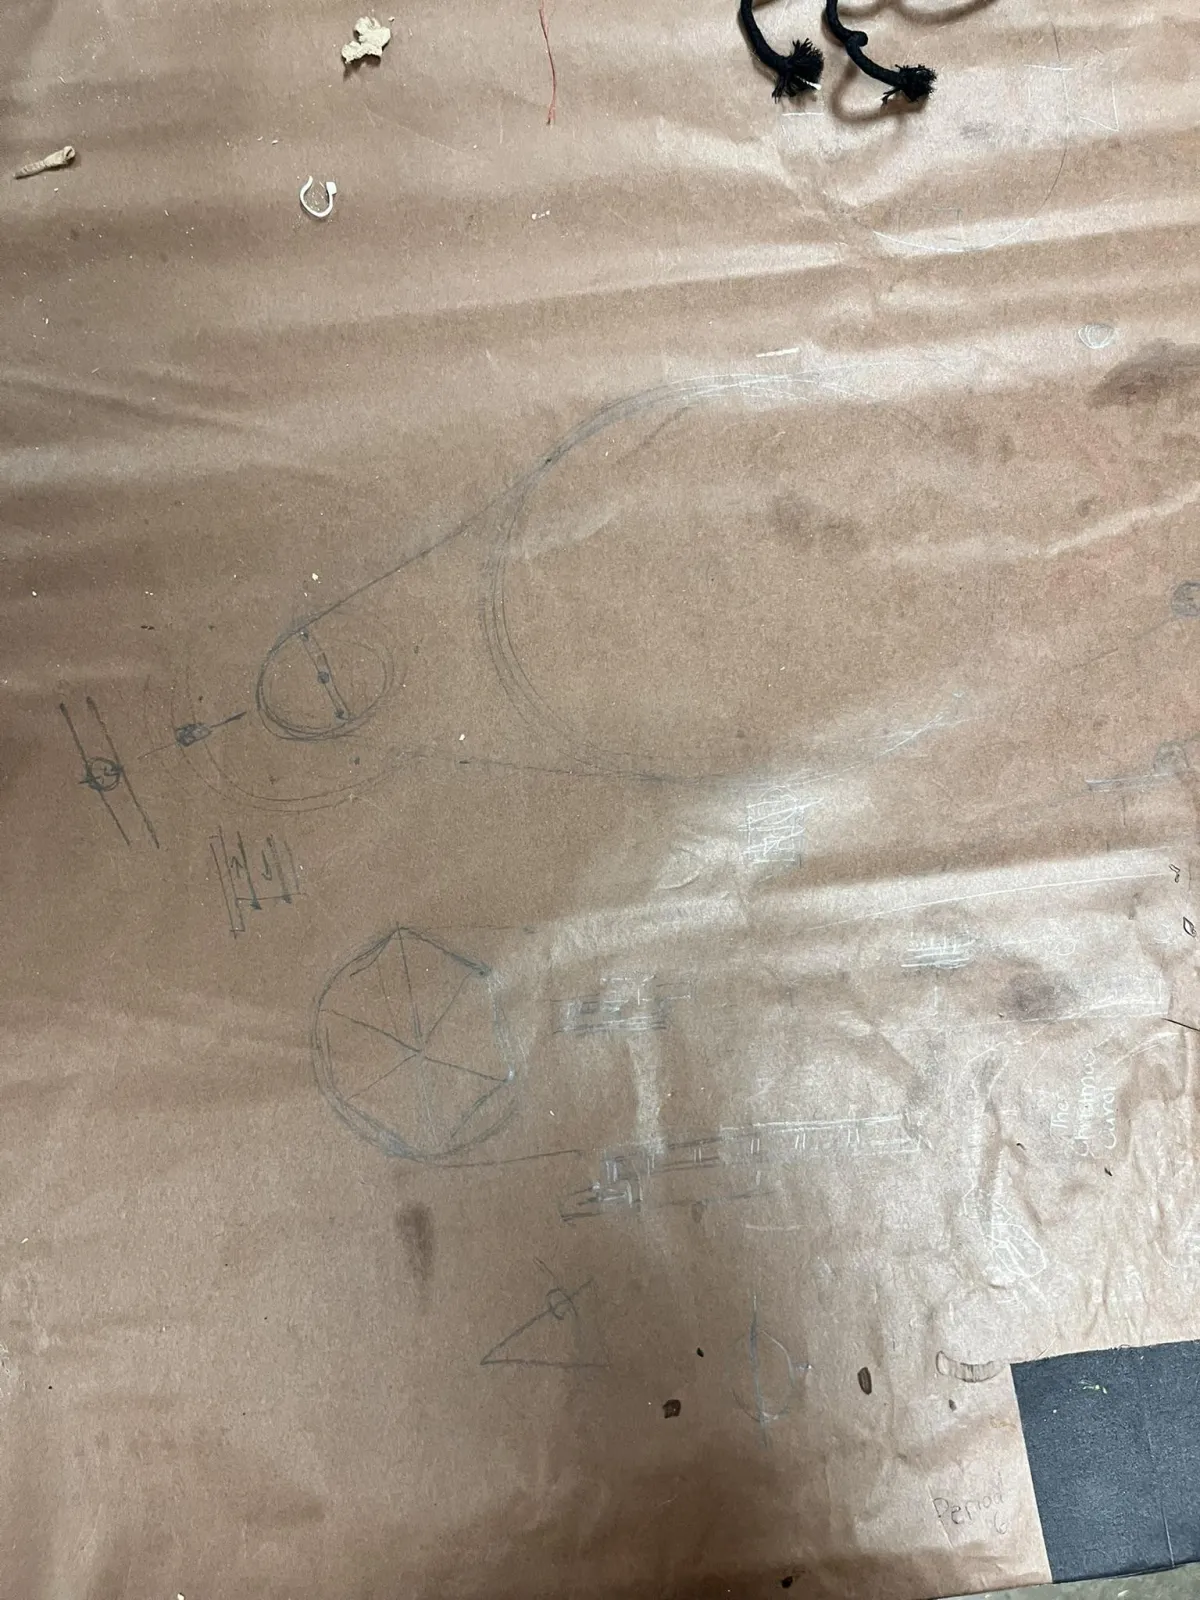
Planning first
The first thing the students did was draw out their ideas. This was literally done on the paper covered tables in the stagecraft classroom. A group of Stagecraft 2 students with pencils around the table talking out how best to make this happen.
We have in our stock a 24’ turntable. This group has not used it, as we haven’t done a show on it in the past few years, but they have seen it in storage. So we discussed its construction and design. The heavy fully framed pie pieces and steel understructure are built for travel and large loads. And though our friends up the road had built a 12’ version based on designs I created, the class decided that would be overbuilt.
Since we weren’t going to store it, and didn’t want it more than 8” tall, they decided we could skip the underframe and mount the casters directly to the floor.
We had a large number of 5 ¼” fixed casters in stock. We have used tracked wagons on stage before, so the casters were counted. We decided we’d need 41 casters plus a center pivot.
Center point is crucial
The center pivot must be strong enough to hold the entire turntable in place yet have enough play to figure for the flex caused by caster drift and pressure from whatever mechanism would rotate the table.
Our large turntable uses a trailer wheel hub welded to a 2’x2’ dross as the pivot point. The last 12’ turntable we built (part of a double turntable for Ada and the Engine) used a pipe over pipe sleeve, well greased. We had this pipe sleeve mechanism in stock as well, and that is what they opted to use.
The actual deck
Our previous turntables were built with fully framed pie pieces which were both heavy and thick. Since we didn’t want the deck to sit too high, they opted for a layered turntable top. The plan would be three layers of plywood, laid in opposition. ¼” bottom and top layer and a ⅝” center layer. Thoughts about a masonite layer for a nice paint surface were also discussed, but ultimately scrapped for cost and weight.
Power
A lot of suggestions were made on how to actually turn the table. Our large table uses a DC motor and a direct friction drive wheel that butts right up to the edge of the table. Our Ada turntable was powered by a hand crank boat winch. The 12’ table built from my plans for Hadestown used a small direct drive motor from Creative Connors that sat under the turntable.
First suggestions were a belt drive, building a second spool with an extended handle and turning with two operators on either side.
The second thought was a bike chain drive. Easier to come by than a giant belt, easy to adjust with simple tools.
Another suggestion was using two boat winches, one in either direction, with AC cable mounted at fixed points to pull in either direction. These are all materials and items we had in shop, so this is what they opted to use.
The Build
In the next post, I'll cover the actual build, the adjustments we made to the plans, and the final results. Even in the planning stages, this project was exciting and inventive.
When you give students the opportunity and the agency to create big things, they will rise to the occasion.
If you're interested in turntable plans, or other instructions for builds, visit Backstage AIC's products page. Looking for community? Join our Facebook group!
